Native Instrument’s Maschine combines a sampler, arranger, mixer and audio interface with software for music production that focuses primarily on pattern-focused beat and track production. That mix provides a fast and explorative way to create music, particularly when used live. However, bringing Maschine projects into a track-focused DAW (using track in the DAW sense) is either by default abstracted or mixed down. I prefer to have the flexibility to mix the individual tracks as a post-production step while still maintaining the elements of live performance that the Maschine can excel at. Towards that end, I’ve tended to adopt a specific workflow when using Maschine that combines the best of these elements.
Note, this process is specific to Logic Pro X and Maschine; however, applying this to other workflows involving Maschine should be possible.
1. Produce a Maschine project with the samples, loops, and patterns, arranged in sketch or track mode; make any performance notes that are needed.
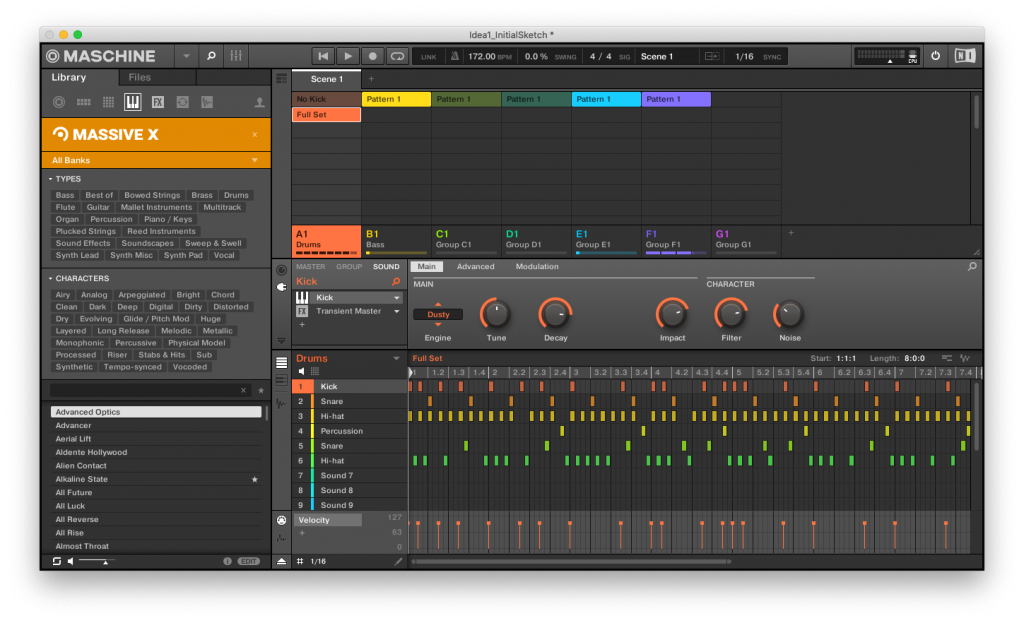
2. Create an instrument track in Logic with a Maschine (x16) instance, opening the project from #1. You can create a multi-timbral instrument at this step, but I prefer to wait until the next step to accomplish the same thing.
3. In the Logic mixer, add additional channel strips for instrument channels on the Maschine track, assigning each output to an aux channel.
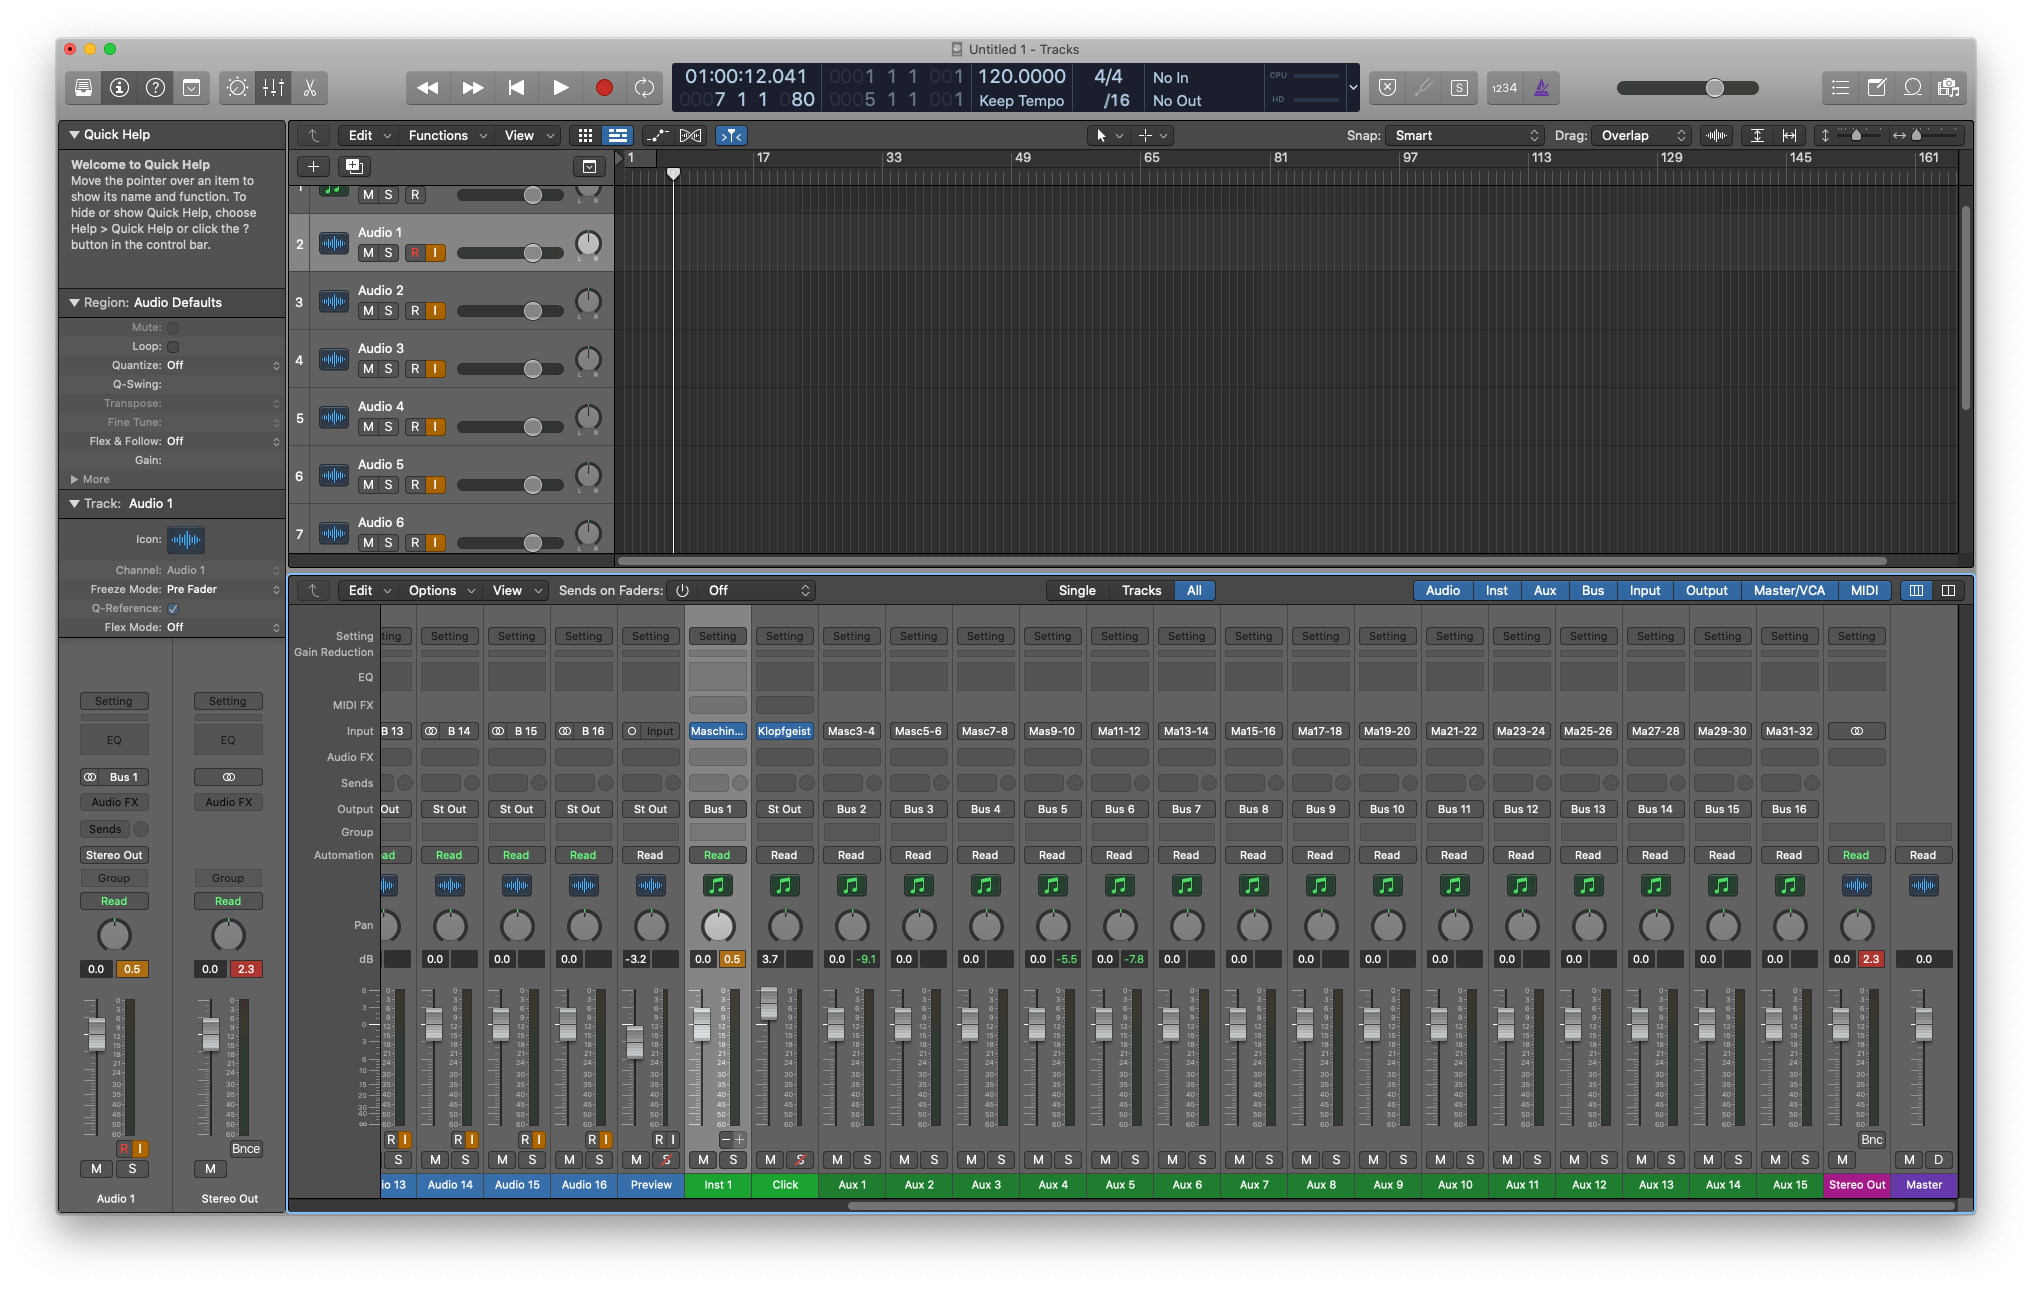

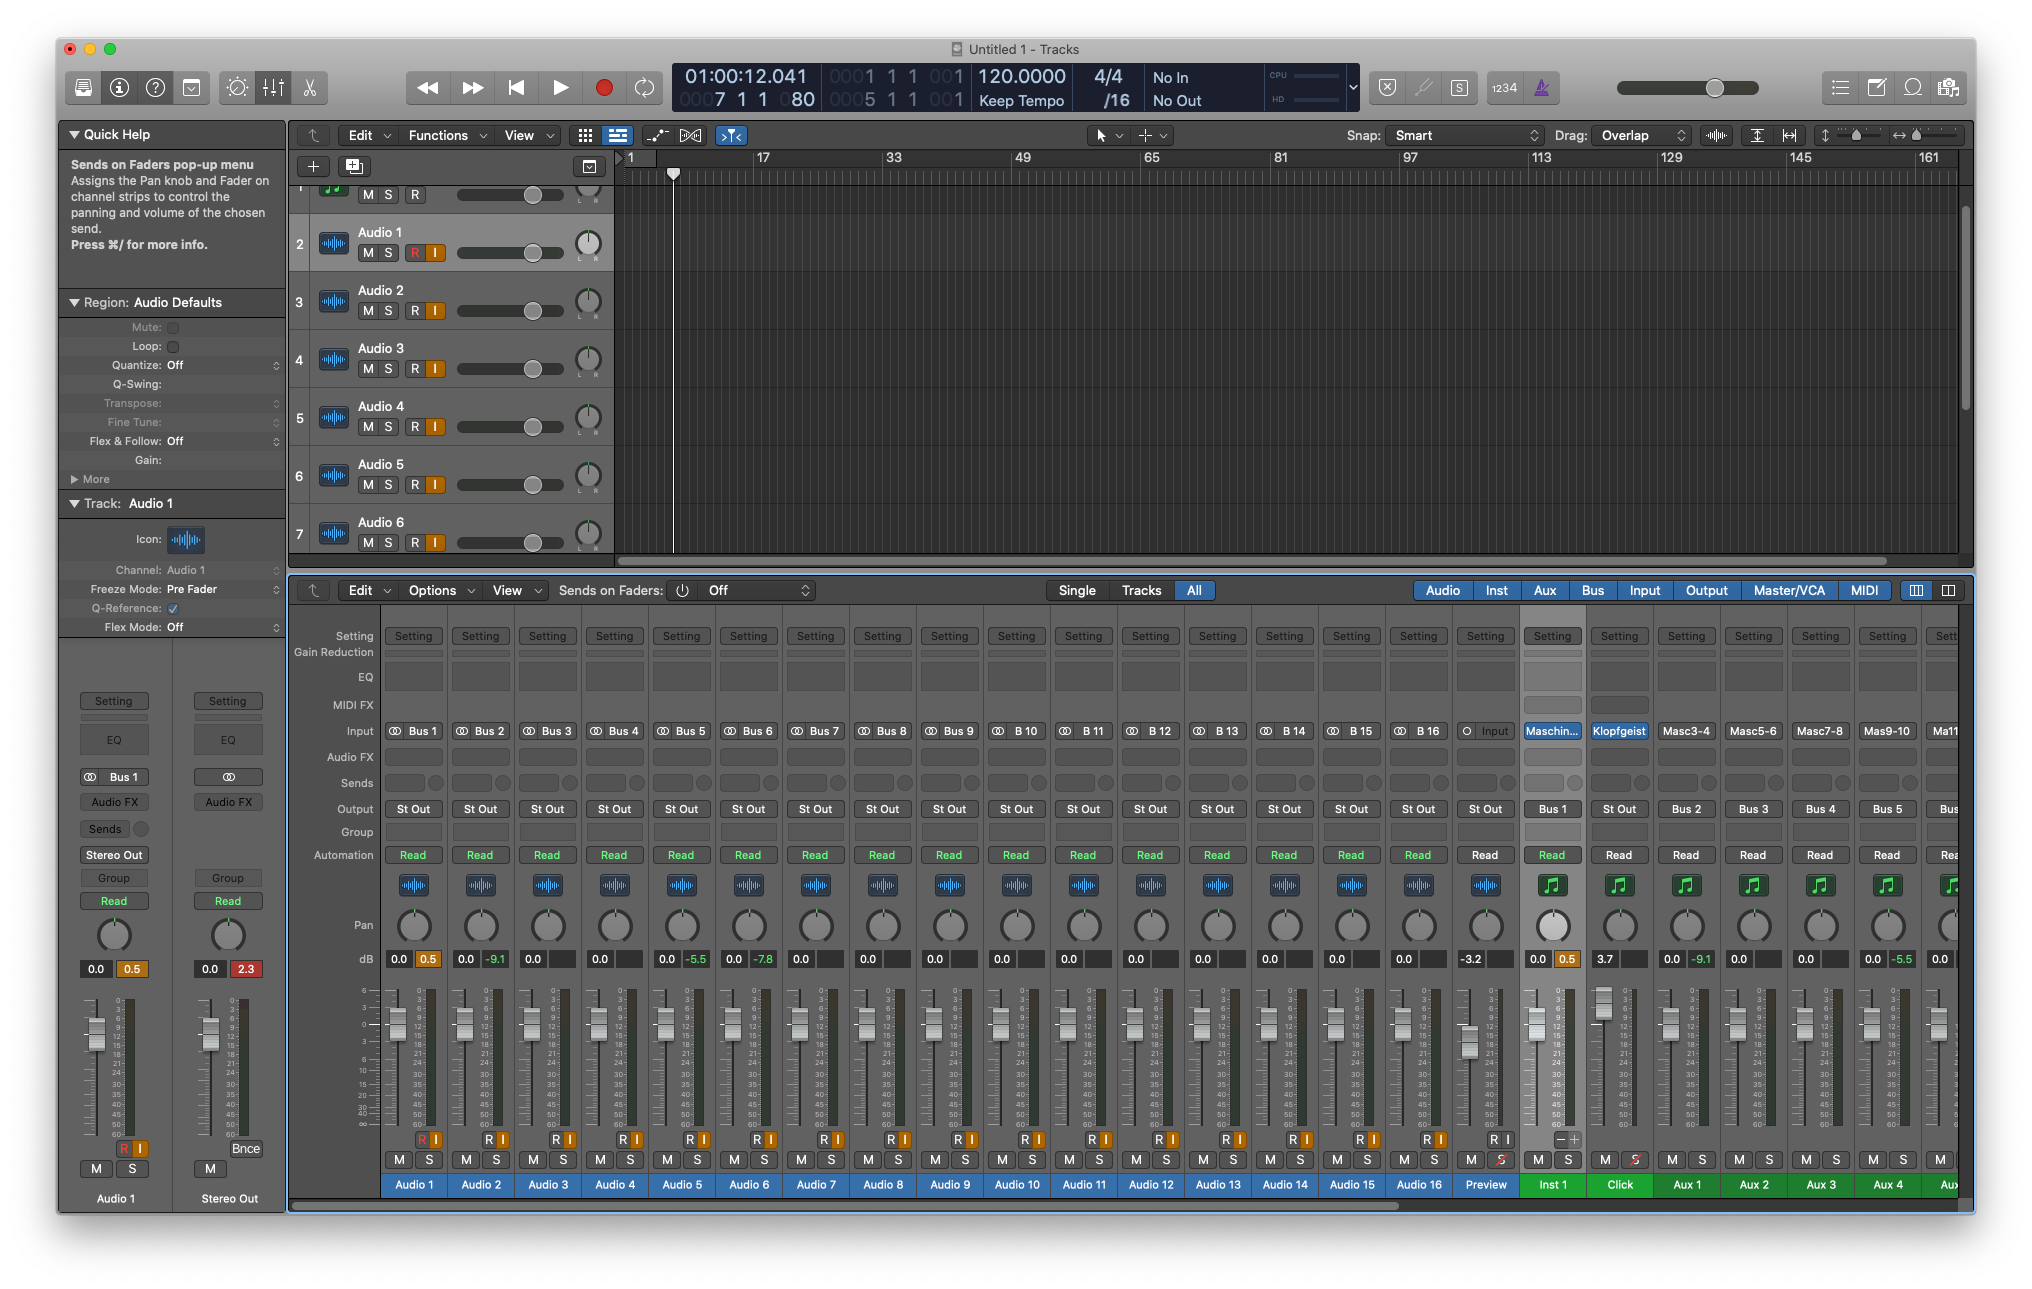
4. Create corresponding audio tracks, setting their inputs to the aux channels.
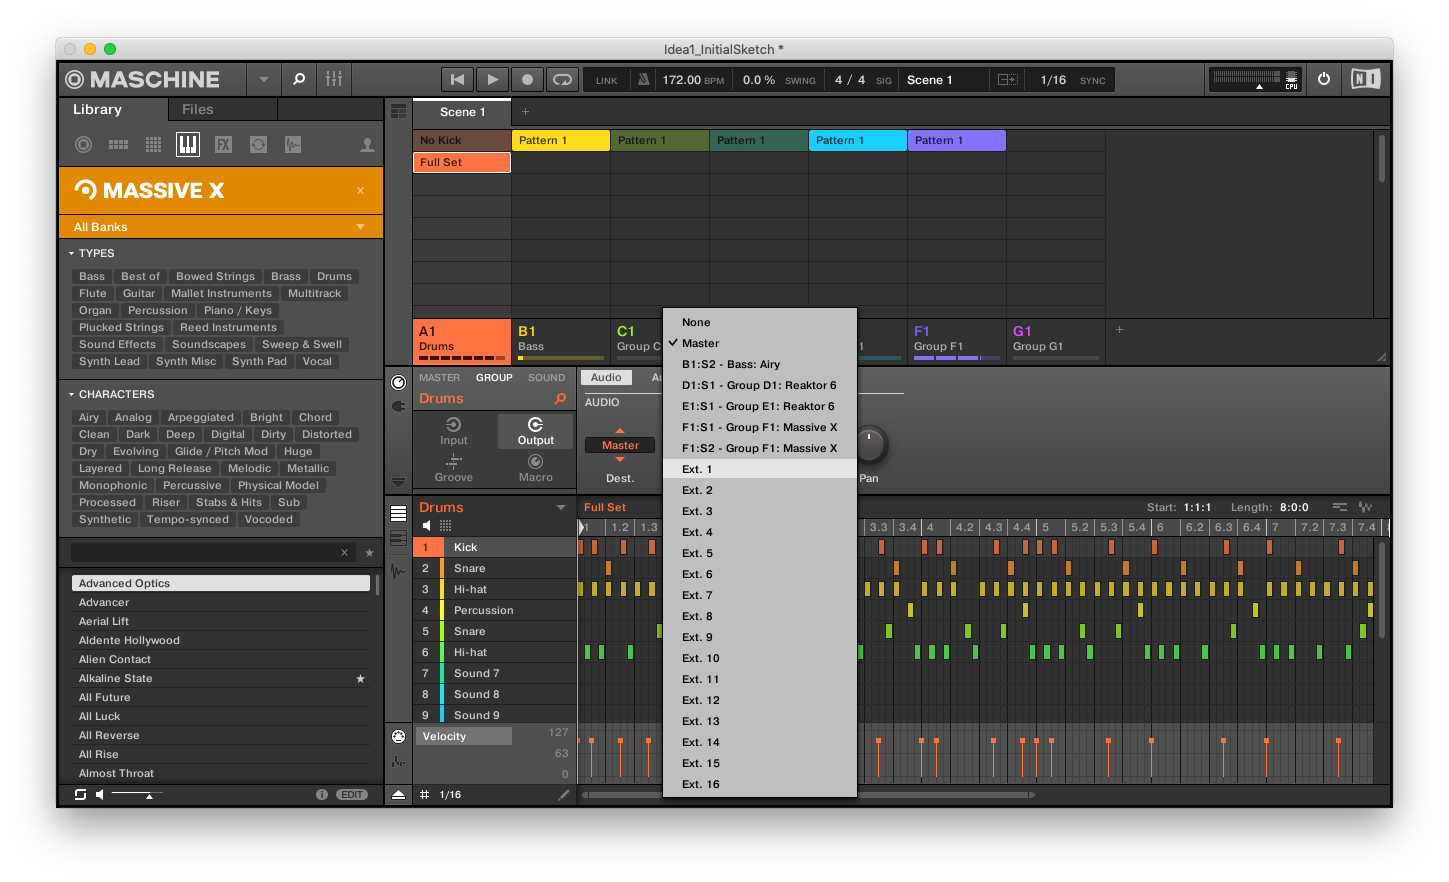
5. In the Maschine project, set either the main or auxiliary outputs to external channels. At this point, the channels in Logic should register output from Maschine when played.
6. Record enable all or a selection of channels in Logic, and then perform your work on Maschine.
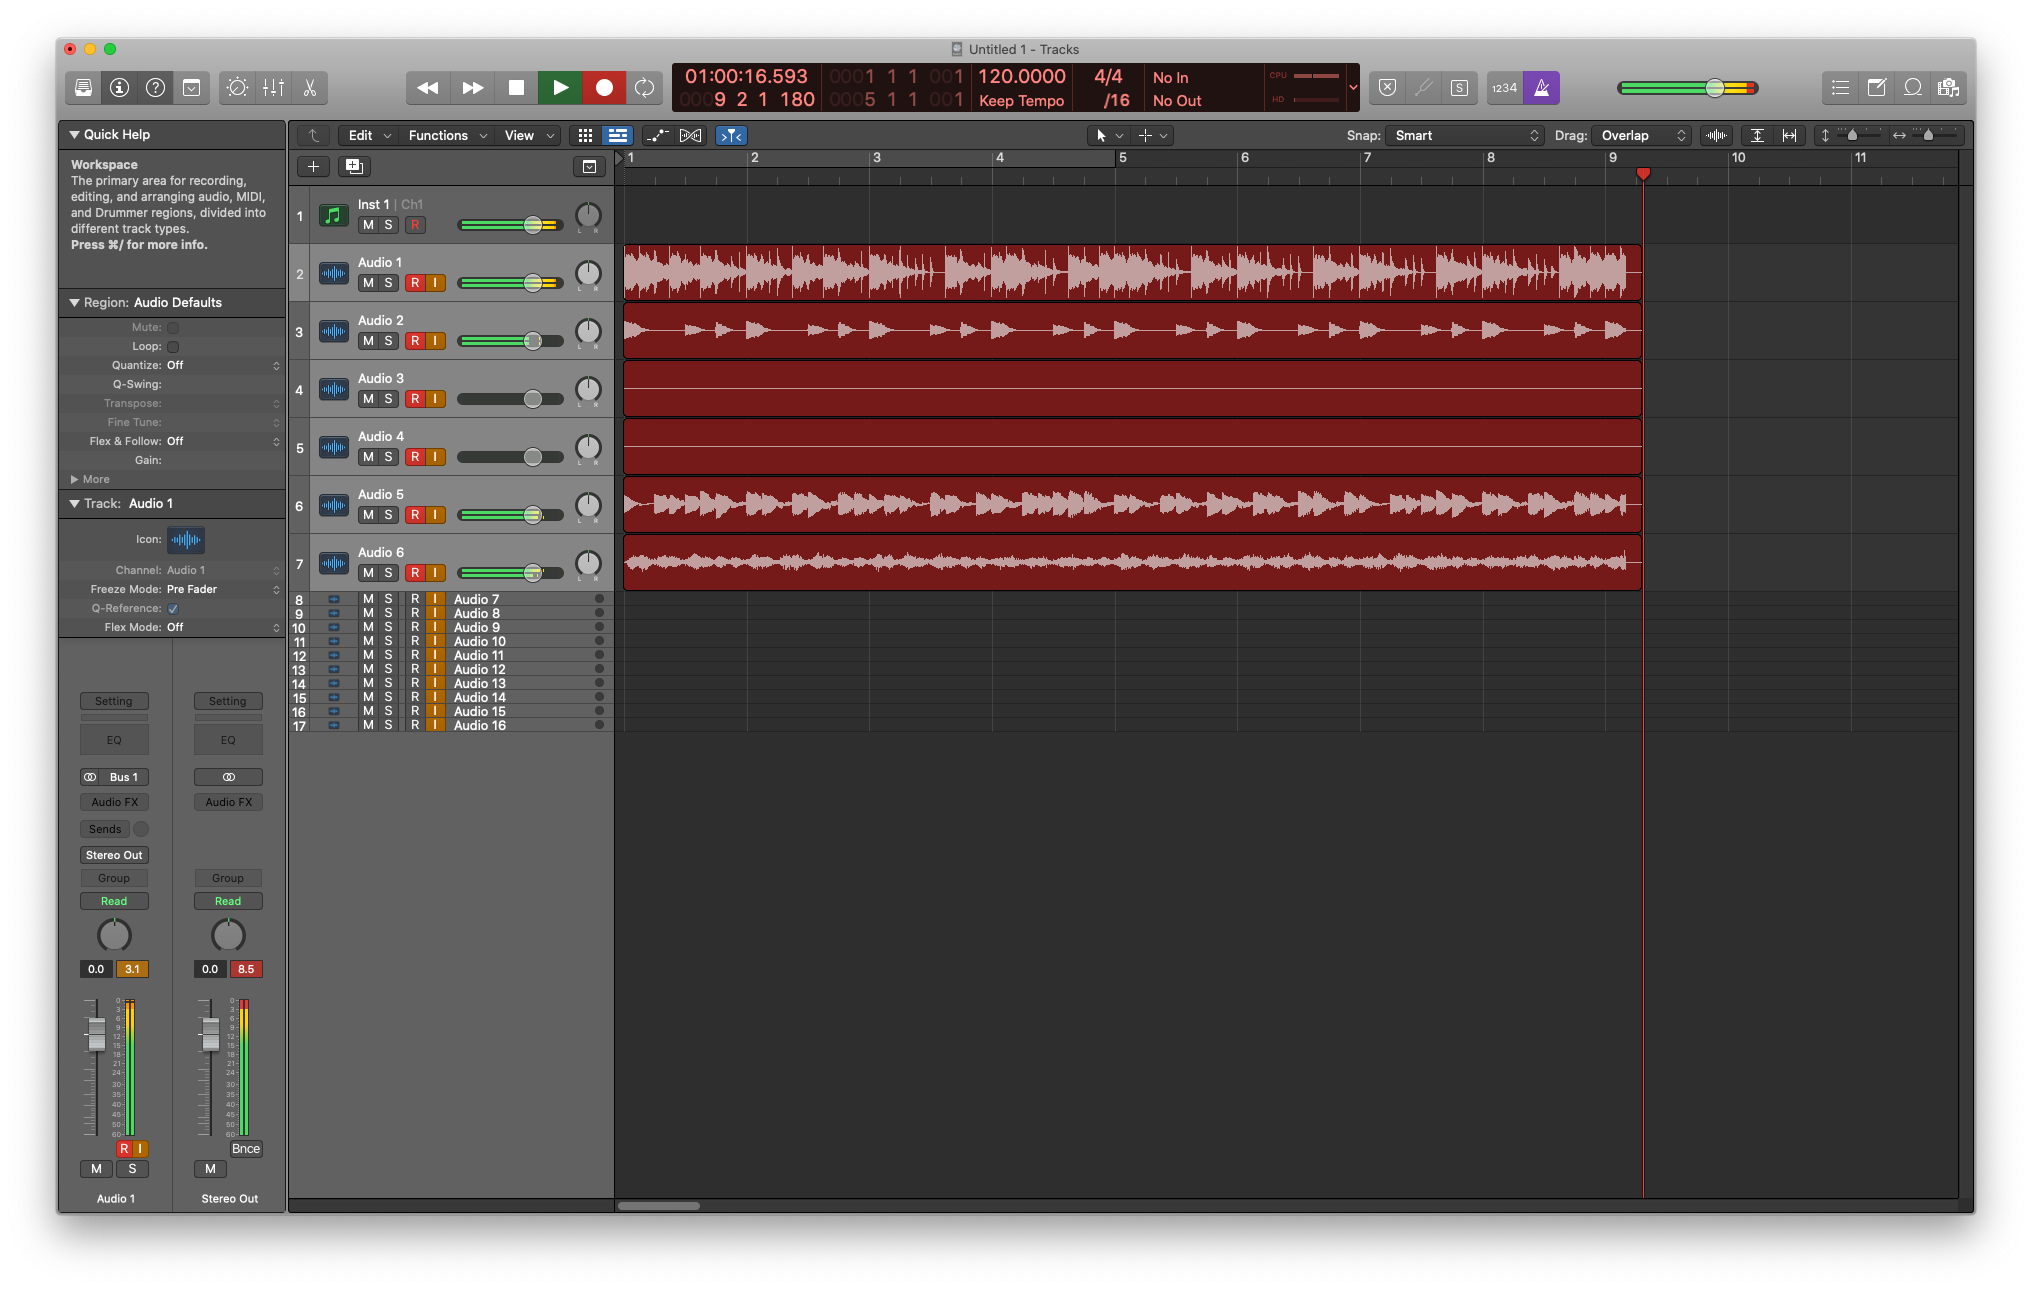
This approach can also help get around system limitations if you’re running, eg. a slew of Massive instances, given you can solo record tricky parts if you don’t mind multiple takes. Moreover, once you’ve tracked these, you have the freedom to mix and edit as you’d like. On the other hand, this approach can be somewhat daunting to some. After all, you’re potentially recording live with a range of instruments at once. It’s nearly impossible to replicate a given take, depending on how many active elements you have in your project. I understand the appeal of programming everything in Maschine such that it is repeatable, so that the quality of a performance is a given. This approach is more akin to working with outboard equipment. With a modular synth, you rarely end up with the exact same patch. It’s the performance, the non-repeatability, that I find interesting and rewarding about this approach.
Now, there are other ways to accomplish this, though each sacrifices a fair bit of flexibility and the variability of performance. Maschine has the option to export projects as mix-down or samples. Then you can manually add these to your DAW, copy, arrange and modify, programming your song like you might program your drums. The Maschine software also has “click-and-hold” pattern export that you can then drag to your DAW. Finally, you can record midi tracks to switch patterns and scenes in your Maschine project, another way to program your song. This can also be used in conjunction with the multi-timbral approach presented here.
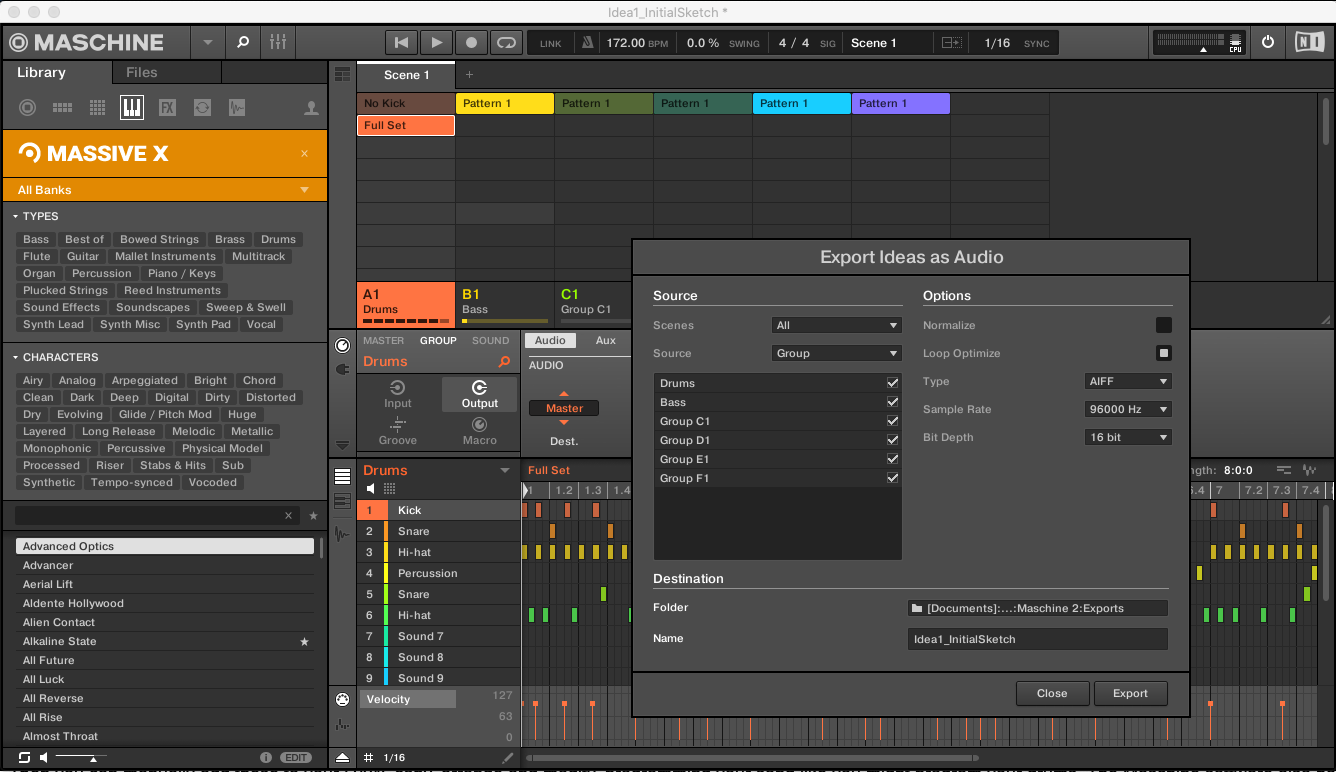
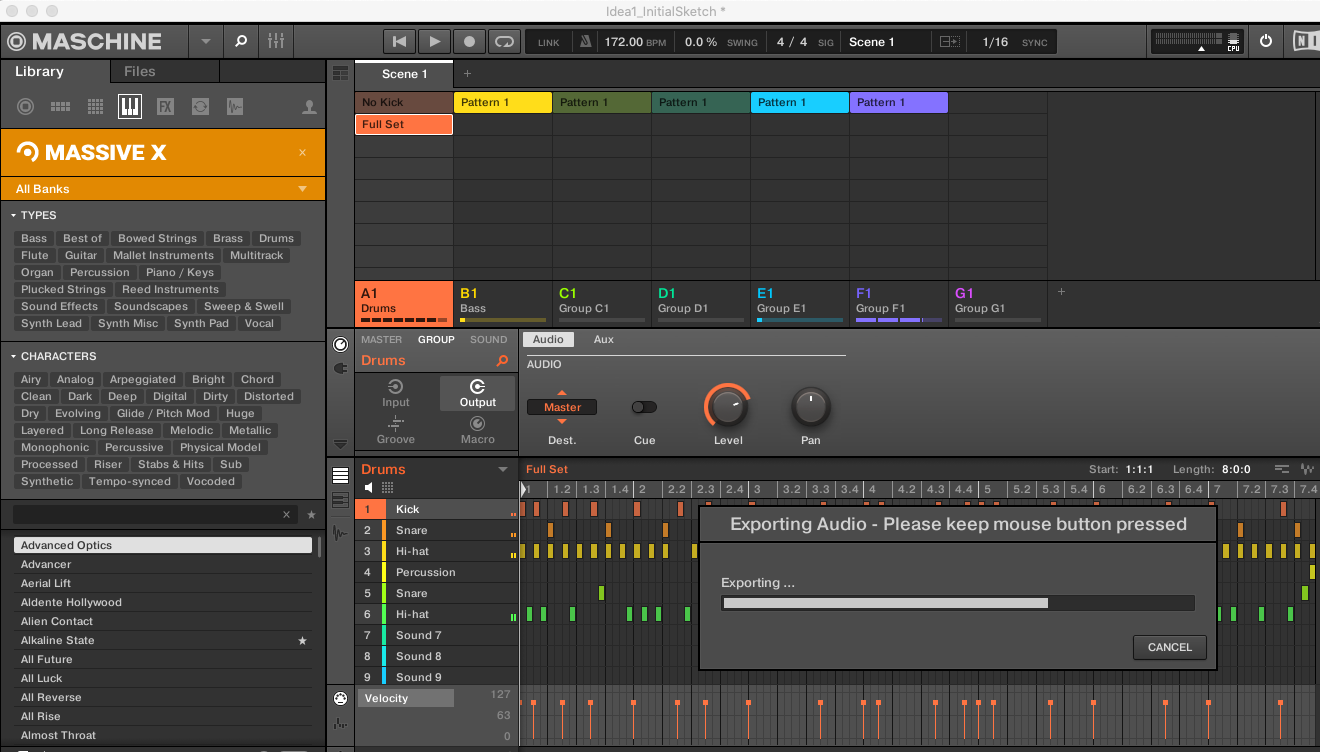
The Click-and-Drag feature was one of the first integration attempts I experimented with, but for live performance for streams. You can drag bounced-down patterns from Maschine into sampler tracks in Traktor, which you can then mix into your live sets.
Another approach I experimented with was putting a Guitar Rig instance in Maschine to use the track recorder feature in Guitar Rig. This accomplishes the same thing as recording down to a single track in Logic. While this further restriction in options can encourage some interesting creativity, I prefer to still be able to mix a track before mastering.
Summary
This approach to using Maschine as an instrument in your DAW and performing with it live, while maintaining individual tracks, provides a great deal of flexibility in how one uses Maschine to quickly generate full tracks which can move right to final mixing. If you like working directly in Maschine, setting up a template for this workflow can keep you in creation mode longer, but ultimately, I feel practicing and then performing a track to tape has the biggest payoff in terms of creation.
